Create custom storage solutions to fit your unique workshop needs. When you have a small workshop, maximizing space and organization is crucial. DIY storage solutions can be tailored to fit your specific tools, materials, and workflow, ensuring that everything has its place and is easily accessible. Here are some ideas to help you get started on creating effective storage solutions for your small workshop.
One of the first steps in creating DIY storage solutions is to assess your needs and available space. Take inventory of your tools and materials, and consider how often you use each item. This will help you determine what needs to be stored and how accessible it should be. Once you have a clear understanding of your needs, you can begin designing storage solutions that make the most of your space.
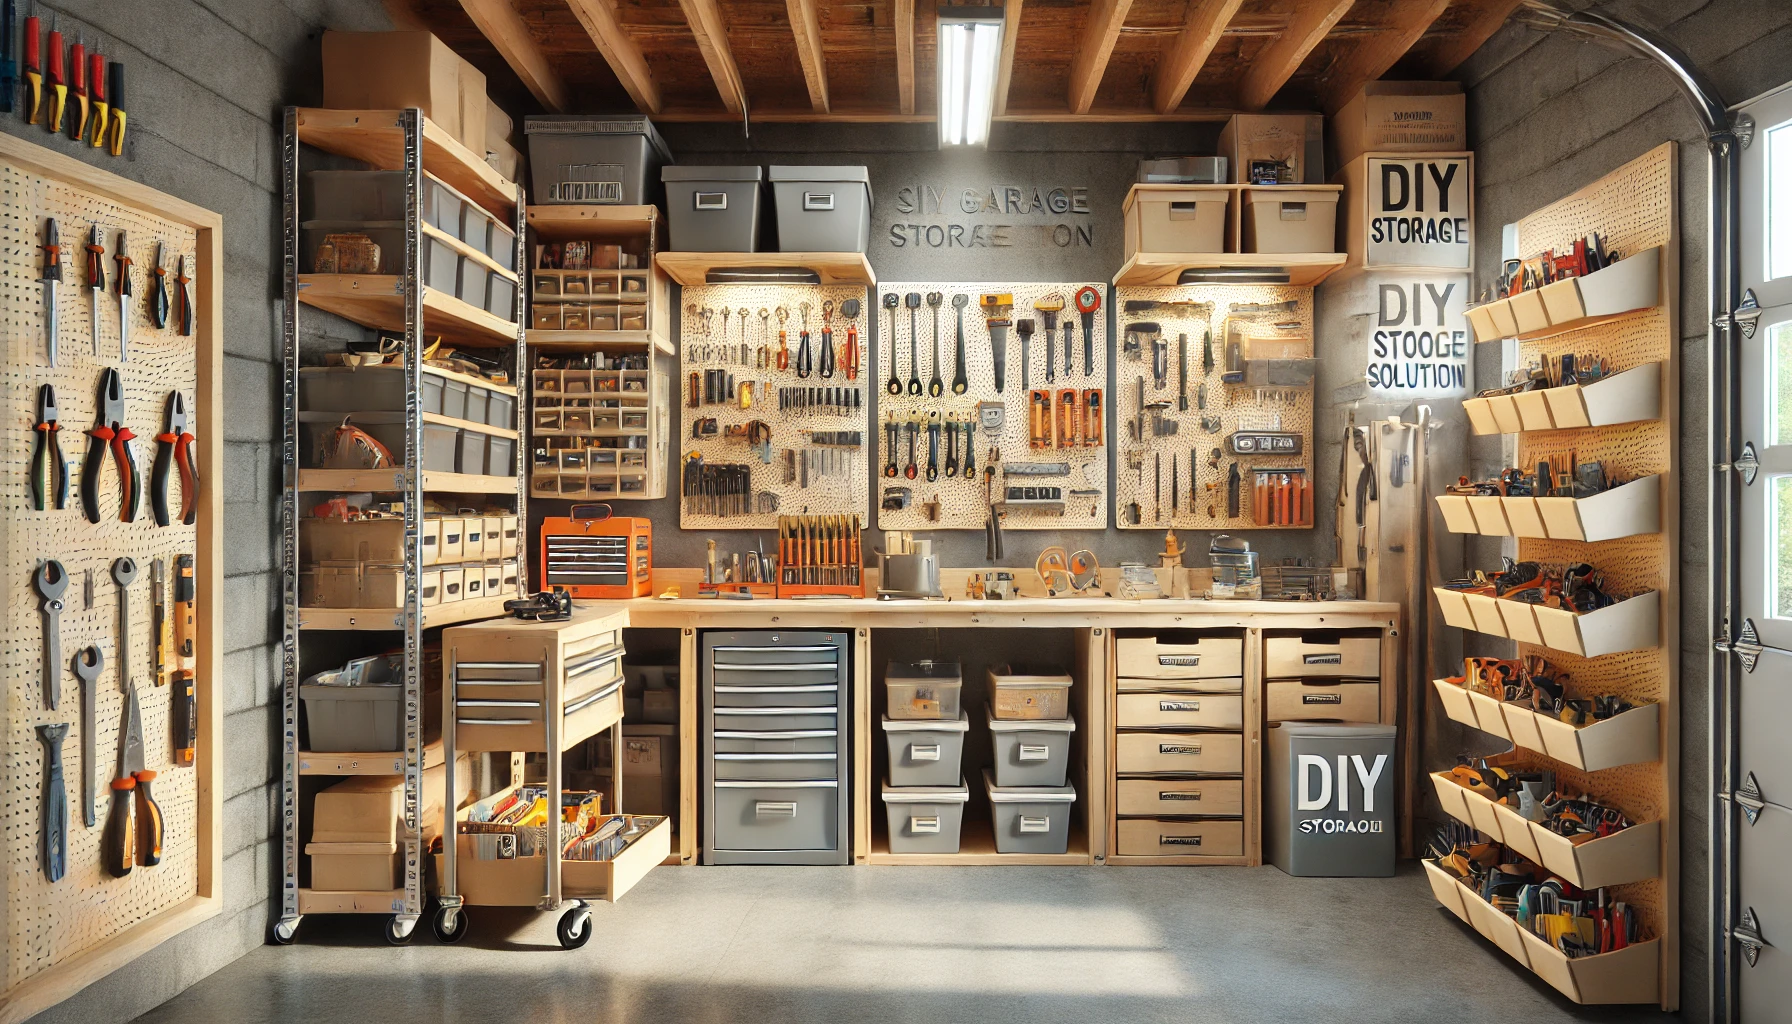
Pegboards are a versatile and popular storage solution for workshops. They can be customized with various hooks, shelves, and holders to keep your tools organized and within easy reach. To create a pegboard storage system, start by measuring the wall space where you want to install the pegboard. Cut the pegboard to fit, and use spacers to create a gap between the wall and the board. This will allow you to insert hooks and accessories without obstruction. Secure the pegboard to the wall with screws, and then arrange your tools on the board using hooks and holders that suit your needs. You can also add small shelves or baskets to hold smaller items.
Shelving is another essential storage solution for small workshops. Wall-mounted shelves can keep your work surface clear and provide easy access to frequently used items. Consider using adjustable shelving units that allow you to change the shelf height as needed. This flexibility can accommodate different-sized tools and materials over time. To create sturdy shelves, use heavy-duty brackets and quality wood or metal shelves. Install the brackets securely into wall studs to ensure they can support the weight of your tools and supplies. If wall space is limited, consider using corner shelves to make use of otherwise unused areas.
For smaller items like screws, nails, and other hardware, a customized drawer organizer can be incredibly useful. You can build your own drawer dividers using thin strips of wood or plastic. Measure the interior dimensions of your drawers and cut the strips to fit. Arrange the strips into a grid pattern that suits your storage needs, and secure them with wood glue or small nails. This will keep small items separated and easy to find.
If you have a lot of hand tools, consider creating a custom tool rack. A simple way to do this is by using a piece of plywood and some dowels. Drill holes into the plywood where you want to place the dowels, ensuring they are spaced appropriately for your tools. Insert the dowels into the holes and secure them with wood glue. Mount the plywood to the wall, and hang your tools on the dowels. This keeps your hand tools organized and easily accessible.
Magnetic tool holders are another great option for organizing metal tools like screwdrivers, wrenches, and pliers. These holders can be mounted to the wall or the side of a workbench, keeping your tools visible and within reach. You can purchase pre-made magnetic strips or create your own using strong magnets and a metal strip. Attach the strip to a piece of wood or directly to the wall, and arrange your tools on the magnets.
For larger power tools, consider building a mobile tool cart. A rolling cart allows you to move your tools around the workshop as needed, providing flexibility and convenience. To build a tool cart, start with a sturdy base made from plywood or MDF. Add casters to the bottom for mobility. Build shelves or compartments on the cart to hold your tools, ensuring they are securely fastened to prevent movement. You can also add pegboard panels to the sides of the cart for additional tool storage.
Another useful DIY storage solution is a clamp rack. Clamps are essential for many woodworking projects, but they can be bulky and difficult to store. A clamp rack can be made from a simple piece of plywood or a 2×4. Drill holes or cut slots into the wood to hold the clamps securely. Mount the rack to the wall or the side of a workbench, keeping your clamps organized and easily accessible.
For storing larger sheets of material like plywood or MDF, a vertical storage rack can be very helpful. Build a simple frame using 2x4s, with vertical supports spaced to accommodate the width of your materials. Add crossbars to the frame for additional support. Secure the frame to the wall or floor to prevent it from tipping over. This vertical storage solution keeps your large materials off the floor and organized.
Repurposing old furniture can also provide unique storage solutions for your workshop. For example, an old dresser can be transformed into a tool chest. Remove the drawers and add casters to the bottom for mobility. Reinforce the drawer bottoms if necessary to support the weight of your tools. Paint or refinish the dresser to match your workshop decor. This provides a sturdy and functional storage solution with plenty of space for your tools.
Another idea is to use PVC pipes for tool storage. Cut the pipes into various lengths and mount them to a piece of plywood or directly to the wall. These can be used to store long tools like clamps, dowels, or even garden tools. Arrange the pipes in a way that suits your storage needs, and secure them with pipe brackets or straps.
Finally, consider creating a dedicated charging station for your cordless tools. Build a small shelf or cabinet with compartments for each tool and its charger. Add an electrical strip to the back of the cabinet to plug in all the chargers. This keeps your cordless tools organized and ensures they are always ready to use.


