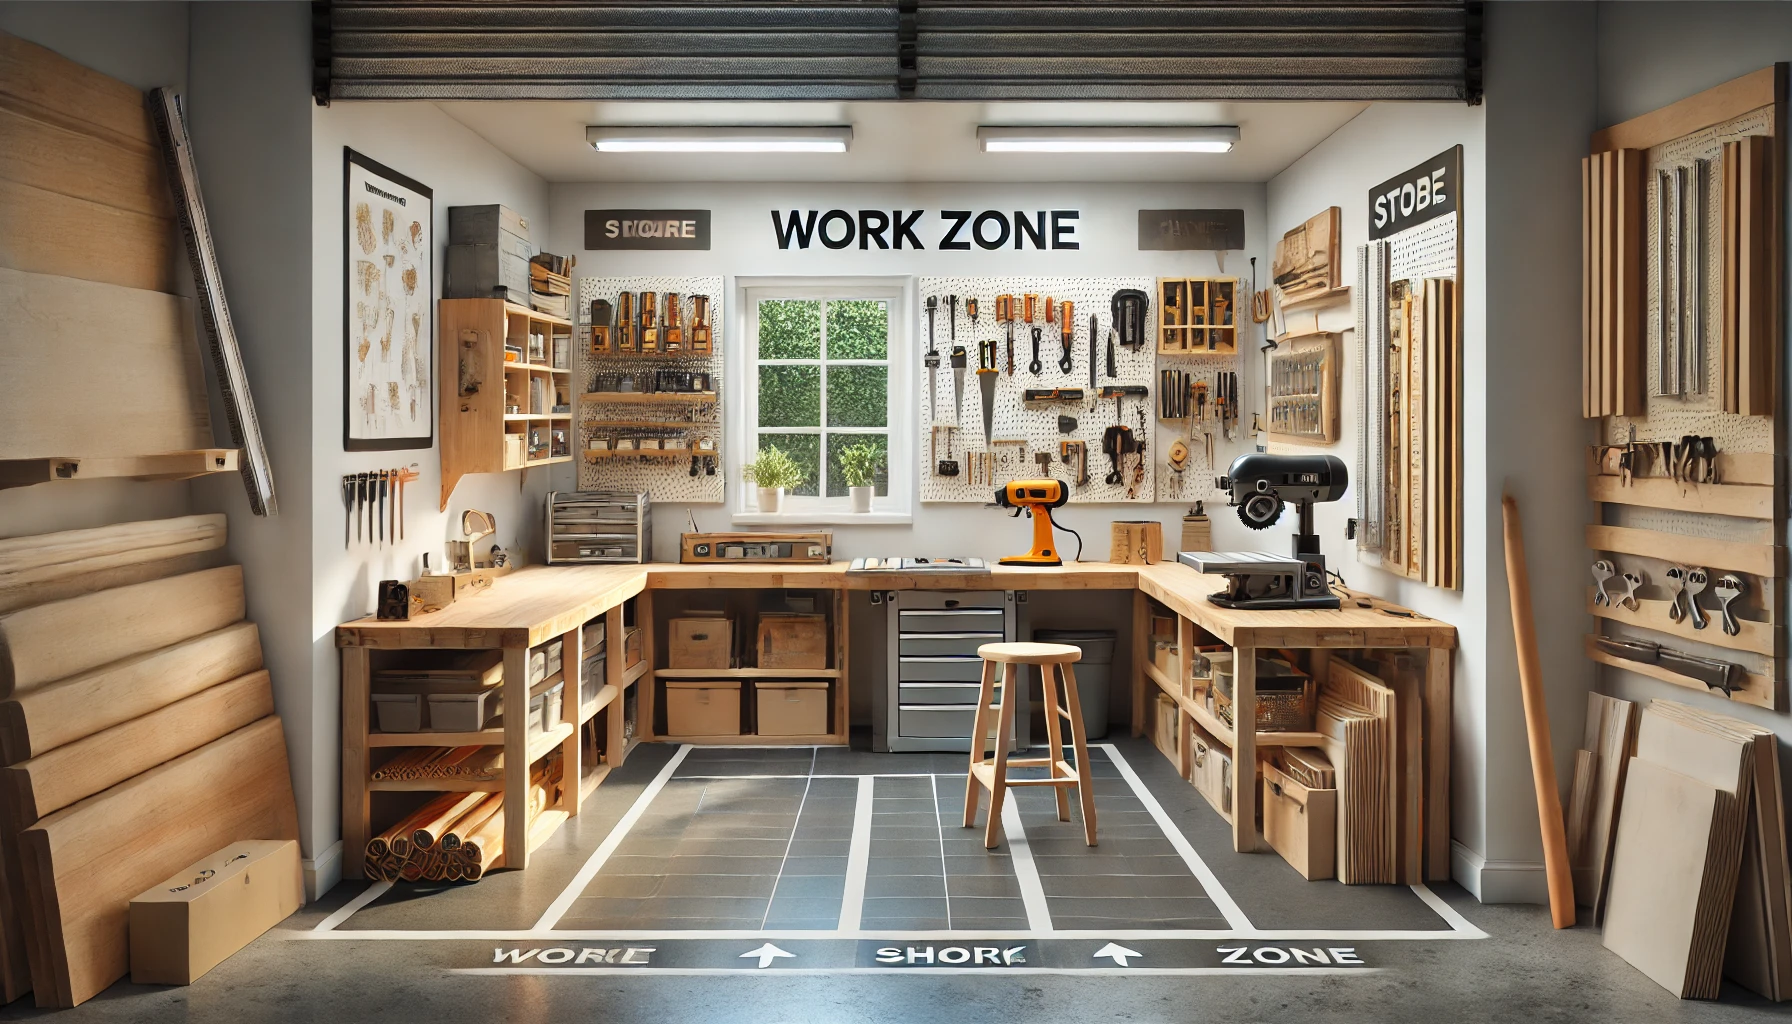
Having clearly defined work zones in your small workshop is essential for maintaining an organized and efficient workspace. By designating specific areas for different tasks, you can streamline your workflow, reduce clutter, and enhance productivity. In this article, we’ll explore the benefits of clear work zones and provide tips on how to create and optimize them in your small workshop.
The Benefits of Clear Work Zones
Creating clear work zones in your workshop offers numerous advantages, including improved organization, increased efficiency, and a safer working environment.
Improved Organization:
Clear work zones help keep your tools and materials organized and easily accessible. By designating specific areas for different tasks, you can ensure that everything has a place and is kept in its place.
Increased Efficiency:
A well-organized workshop layout can minimize unnecessary movement and make it easier to find and access the tools and materials you need. This can save you time and effort, allowing you to focus more on your projects.
Safer Working Environment:
Clear work zones can help reduce the risk of accidents by keeping your workspace tidy and free of clutter. By separating different tasks and storing tools properly, you can create a safer and more efficient working environment.
Creating Clear Work Zones
To create clear work zones in your small workshop, start by assessing your needs and planning your layout. Consider the types of tasks you’ll be performing and the tools and materials required for each task.
Identify Your Tasks:
Begin by identifying the different tasks you’ll be performing in your workshop. Common tasks may include cutting, assembly, sanding, painting, and finishing.
Make a list of the tools and materials required for each task, and consider how frequently you use them.
Plan Your Layout:
Plan your workshop layout to accommodate your different work zones. Ensure that each zone has enough space for the task and that tools and materials are within easy reach.
Consider the flow of your work process and arrange your zones in a logical order. For example, you might place your cutting area near the entrance to minimize the distance you need to carry materials.
Optimize Storage:
Optimize storage within each work zone to keep tools and materials organized and easily accessible. Use shelves, pegboards, hooks, and cabinets to store items in a way that maximizes vertical space and keeps your workspace clear.
Label storage containers and designate specific spots for frequently used tools to make it easy to find what you need.
Examples of Work Zones
Cutting Zone:
Your cutting zone should be equipped with a sturdy workbench, saws, and cutting tools. Ensure that you have adequate lighting and a clear workspace for accurate cutting.
Install shelves or cabinets nearby to store wood, metal, or other materials you’ll be cutting. Use a pegboard or tool rack to keep cutting tools organized and within reach.
Assembly Zone:
The assembly zone should have a large, flat surface for assembling projects. Ensure that you have enough space to lay out materials and work comfortably.
Store screws, nails, and other fasteners in labeled containers within easy reach. Keep clamps, hammers, screwdrivers, and other assembly tools organized and accessible.
Sanding and Finishing Zone:
The sanding and finishing zone should be a well-ventilated area to ensure safety and comfort. Equip this zone with sanders, sandpaper, and finishing tools.
Use shelves or cabinets to store paint, varnish, brushes, and other finishing supplies. Keep safety gear, such as masks and gloves, readily available.
Painting Zone:
Your painting zone should have adequate ventilation and lighting. Set up a dedicated area for painting projects, with drop cloths or protective coverings to prevent paint splatters.
Store paint, brushes, rollers, and other painting supplies in nearby cabinets or shelves. Use hooks or pegboards to keep brushes and tools organized.
Tips for Maintaining Clear Work Zones
Regular Cleanups:
Set aside time at the end of each work session to clean up your workspace. Put tools back in their designated spots, sweep the floor, and organize materials.
A clean and tidy workshop not only looks better but also reduces the risk of accidents.
Tool Maintenance:
Keep your tools in good working condition by performing regular maintenance. This includes cleaning, sharpening, and lubricating them as needed.
Well-maintained tools are more efficient and safer to use.
Decluttering:
Periodically go through your tools and materials to identify items you no longer need or use. Donate, sell, or dispose of these items to free up space.
Adopting a minimalist approach to your workshop can help you focus on what’s truly important.
Personalizing Your Space
Finally, don’t forget to add personal touches to your workshop to make it a space you enjoy spending time in. This can include decorating with posters, adding a comfortable chair, or setting up a sound system for music.
Decorations:
Add motivational posters or artwork to your walls to inspire creativity. Personalize your pegboard with colors or designs that reflect your style.
Comfort:
Invest in a comfortable chair or stool for those long hours spent working on projects. Ensure your workspace is ergonomically designed to reduce strain and fatigue.
Entertainment:
Set up a small sound system or speakers to listen to music, podcasts, or audiobooks while you work. Having entertainment can make the time spent in your workshop more enjoyable and productive.
Creating clear work zones in your small workshop can help you maintain an organized and efficient workspace. By planning your layout, optimizing storage, and maintaining a tidy environment, you can transform your workshop into a highly functional and enjoyable space. Embrace the challenge and enjoy the process of building a workshop that meets your needs and inspires your projects.


